Next project

A Blog of Yumness


NEXT PROJECT: Coming Soon!

Monday 1 June 2015

A Very Merry Unbirthday Cake!

This cake was quite literally an Unbirthday Cake! We had a themed Alice in Wonderland dress down charity day at work, after a fair few ridiculously outrageous ideas from Gav (that included a 3 tier cake at one point!), we came up with this plan. Which possibly turned out to be one of my best cakes yet,

I made 4 circular cakes, 2 chocolate and 2 plain. I cut a hole in the middle of 2 of them (one of each)


I made a green icing because I thought it would have a crazy look when you cut into the cake. When icing it all together, I placed M&Ms into the middle of the hole and continued icing up the layers to create a jaunty hat shape. 


To smooth it all out, I covered the cake in green icing and placed it in the freezer to firm up before being able to cover it in royal icing later.


Whilst the cake was in the freezer for a bit, I spent time making the cake board look a little crazy. I cut out squares and painted every other one black, like a chess board.


That actually took ages, by the time I had finished, I was able to take the cake from the freezer and cover it in royal icing.


I placed the cake on the board and rolled out a circular rim for the hat, then turned up each side


With the heavy duty stuff done it was time to start on the many details of the cake! Firstly, the Mad Hatter has to have the card in his hat. This was the first thing that needed to be made. I simply cut a rectangular piece of icing and used the edible pen to write the numbers and stuck it to the side of the cake. I then cut a long piece of yellow icing for the ribbon to go around the hat.


For some reason, the first thing that I think of when I think of Alice in Wonderland are the Card Men, they just jump to mind. I decided to make them next, it was a good job I did because they took absolutely ages to finish. I made three of them in the end, an Ace of Hearts, 2 of Spades and a 3 of Diamonds


After spending so much time on the 2D Card Men, I wanted to work on something a bit different next. He was not in my original plan, but how could you have an Alice in Wonderland themed cake and not have the amazing Caterpillar? I made his body out of separate sections and moulded the lighter blue on top for his pale tummy. I formed his arms and legs and added the little yellow shoes he wears, then drew on his face. He needed a stick to keep him together, but he looked pretty cool lounging against the hat.


It was at this point when I realised that it was getting particularly late and that I needed to start finishing off the cake, but there were still things to do! The only thing for it was to enlist the help of Gav :)

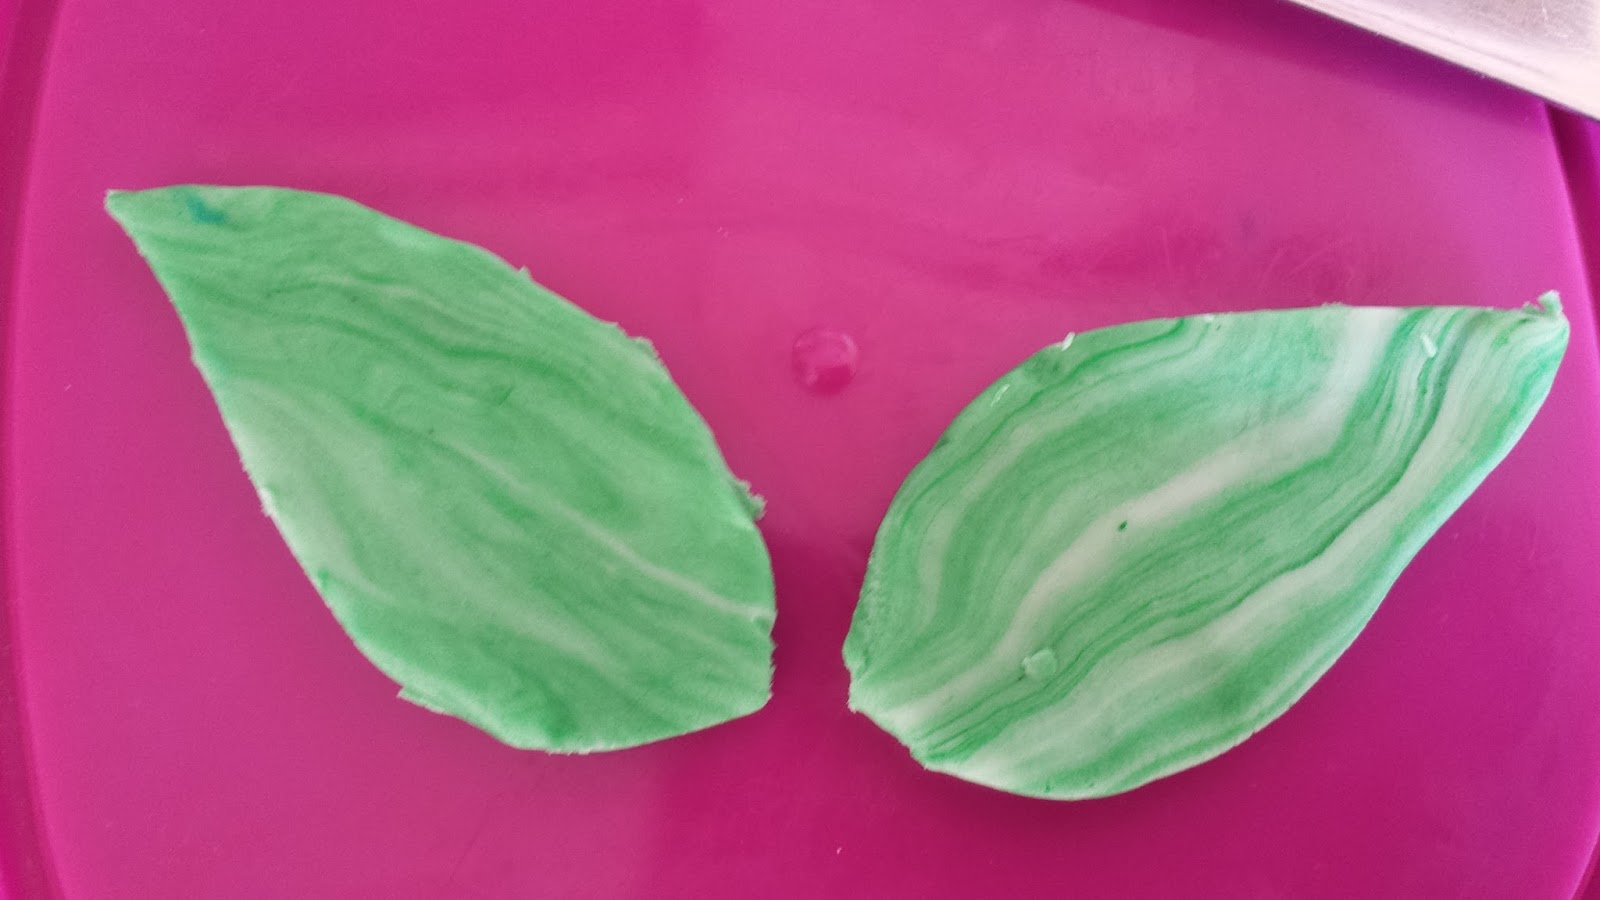
I created the crazy singing flowers on one side of the hat. I just cut the pansy shape out of the icing and painted two tone colours to make them look like flowers, then drew their faces on. I then added the shrubbery later


Whilst I was busy creating the flowers, Gav got creative with one of the best characters, that quite frankly, had to make some kind of appearance (or disappearance depending on how you look at it). The smile was cut out of white royal icing with the teeth drawn on and then he made the eyes but cutting out circles of yellow and painted the black pupils.


This was all starting to come together, after hours of work, the end was in sight


Just a few more minor details as the icing on the cake (pun intended!)
I then made some roses out of white royal icing, which Gav then painted red as the Card Men did 


Finally just a little quote scrawled on the tiled flooring to say that We're All Mad Here


Then it was finally finished! Because it took so long, here's a picture from every possible angle! 


This was the inside of the cake - pretty crazy and cool eh?


I was very proud of this cake, not only was it fun to make (despite how long it took), but the little parts were all really enjoyable to put together and I even got Gav involved in the process :)

Total Time Spent: 8.5 Hours
Useful Tips Gained: Covering the board in the same theme can be super effective and this one really proves it
Items to Purchase: More black colouring!]
Items Added to Wishlist: Ribbon cutter, for no real reason other than I want one
Miscellaneous Items Wished For: None


You'll Never Eat Cake Alone!

It was a year ago that I made the Minecraft cake, same recipient - one year older and this year it's all about the football! This one needed to be in the shape of a shirt, it had to be Liverpool and it had to have his name and age on the cake.

Firstly, I made 2 square chocolate cakes


I drew the shape of a shirt onto some baking parchment and cut it out as a template to cut around


Whilst the icing in the middle of the cake set, I coloured the roll out icing and covered the cake board, which would form the football pitch that the cake would go on


I then covered the cake in red roll out icing and placed it on the board, ready to start making the fiddly parts of the decoration!


Firstly, I cut the name and age out of icing, I needed to do this to make sure that I had enough room for the Liverpool logo on the right of the shirt. Happy with the size and positioning, I made the Liver Bird and painted it yellow. That bird probably took the most time to make out of everything, as the feathers were made separately to get the right shape of the wings. I then made the weird W thing on the left, which was fairly simple to make.


I then needed to make the Liverpool scarf to go around the top of the cake, I made it all in a long strip separately and added the letters and tassels before draping it on the cake board.


Next I needed to make the strips of icing to make up the football field. In hindsight, I probably should have done this before I draped the scarf onto the board, but we live and learn.


Then it was done! I was pleased with the finish of the cake, even though I am not a particularly big football fan, it was fun to make. I had no real meltdown moments, aside from really wanting some alphabet cutters part way through creating the name and realising that I still had Liverpool FC to spell out!


The best thing about this cake is the recipient's enjoyment of it, they loved it :)

Total Time Spent: 5 Hours
Useful Tips Gained: Always finish the board background before placing cake and items on top because working around such things is a pain
Items to Purchase: More colours - I'm almost out!
Items Added to Wishlist: Alphabet and Number cutters!
Miscellaneous Items Wished For: None


The Cupcakes of Nosgoth

You may or may not know that the Pillars of Nosgoth were an important landmark in Legacy of Kain. I did not know this until I needed to make this cake. It started off as Pillars, which quite frankly scared me slightly. So the idea evolved and a new plan formed. Who needs pillars anyway? Cupcakes are always better.

 I started off by cutting into the cake to make the shape I needed


I then made the mini cupcakes and covered them in white roll out icing. On top of each cupcake I placed a circle of colour that represented each pillar and added the pictures that symbolise what each pillar means.


I covered the main cake itself in grey butter icing and made the weird black thing in the middle of the Pillars, then painted the symbols in gold.


I then made a little sign to name the cake (just in case the recipient was in any doubt over what this cake represented!) and I was done!


This was the first cake that involved a cake as well as cupcakes, they had to be stabilised with cocktail sticks, but I was pleased with the end result and our friend loved it!

Total Time Spent: 4.5 Hours
Useful Tips Gained: If you are putting cupcakes on top of a cake, I would probably use royal icing, there will be less slippage
Items to Purchase: A compass - as in the thing you use to draw circles, or different sized circle cutting devices
Items Added to Wishlist: None
Miscellanious Items Wished For: None

Wrestlemania Crazy!

You've seen the previous posts of when it's that Wrestlemania time of year. I'm not sure I will ever be able to beat the craziness that was the Gingerbread Wrestlers! This year, I made a cake in the shape of the title. It was fairly simple, but effective :)

I started off with a rectangle of a cake and cut away the shape of a belt. I kept it to one layer as there was a lot of butter icing on the top and felt that it would have been a bit much if I made it much taller. 


I covered the whole cake in black butter icing and began to cut the shapes of the belt, I started with the surround of the logo so that I could judge how big everything else needed to be to fit inside.


Once I was happy with the surround, I cut the WWE logo and placed it on the cake


It was then just a case of painting it. The belt itself is made up of silver, gold and gems, I used edible metallic paint and red colouring.
Once I had painted the main part of the cake, I started to create the sides of the belt, which involved more logos and more painting. 


Then it was just the finishing touch of writing World Heavyweight Champion on the belt and it was finished!


Total Time Spent: 3 Hours
Useful Tips Gained: None
Items to Purchase: More metallic paint
Items added to Wishlist: None
Miscellaneous Items Wished For: A variety of different sized cake boards because I never have the right size


Under the Sea Birthday!

I am more than aware that I am terrible at keeping my posts up to date, I do aim to do better, especially considering that I made this particular cake for my sister in March!

I was inspired to make this themed cake as it has been a favourite film of my sister and I for many years, I have memories when I was very young of watching The Little Mermaid over and over again. It just made sense to create it on a cake for my big sister.

So I started off by making the cake, it was a three layer cake and it was blue on the inside. I covered it in blue icing for the under the sea colouring and I had my base!


I decided to start on the most complicated part of the cake, the part that I was most worried about - Ariel herself. I wanted to create her swimming towards the outside of the cake. I created her head, chest and arms out of the skin colour I made.


I then created her fabulous hair around her body, it needed to be floating and free to give the impression of her swimming underwater


Happy with the shape, I stuck her onto the side of the cake and painted her hair, adding another layer behind her.


I then created some decoration around the cake, including some sea plants, starfish and Ursula's reaching tentacles.


I roughly coloured some icing green, I did not want it to be completely mixed in as I wanted the lined marbled impression for the tail fin. I cut two leaf shape patterns and made the tail itself.


Using some white roll out icing, I created the shape of her tail and used a cocktail stick to mark on the scales. I then painted the tail and placed it on the cake.


I really liked how it gave the impression of Ariel swimming in and out of the cake, it worked out so well. I was really pleased with it - so was my sister :)


Total Time Spent: 6 Hours
Useful Tips Gained: Do not be afraid of 3D modelling
Items to Purchase: None
Items Added to Wishlist: None
Miscellaneous Items Wished For: None