Next project

A Blog of Yumness


NEXT PROJECT: Coming Soon!

Monday 24 August 2015

Bake Off with the Bake Off 2015 - Week 3 - Bread!

The much anticipated Bread Week! I had a lot to live up to this time around after last year's Red Pesto Tear and Share bread with baked Camembert. Was I up to the challenge?

Week 3 - Bread Week!
The Challenge
Show Stopper! 3 different types of bread to make a 3D bread sculpture.

I think I can go on record here to say that I was terrified of this challenge, excited, don't get me wrong, but also terrified. I had less than a week to plan and then bake this mammoth of a task. I had to choose something to base this sculpture on and I needed to explain my choice. This was going to be a difficult week.

Here goes:

The Idea
A Ferris Wheel

I needed to ensure that I selected 3 types of bread that not only could be manipulated into the shapes that I wanted, but also they had to be strong enough to hold it all up. I chose to make a Rosemary and Thyme White Braided Bread for the Wheel. Baguettes for the Structure and a take on Chelsea Buns for the Carriages.

The Ingredients
Rosemary and Thyme White Braided Bread
750g Strong White Flour
1 and 1/2 tsp Fast Active Dried Yeast
3 tsp Salt
15oz Water
1 and 1/2 tsp Rosemary
1 and 1/2 tsp Thyme

My Take on Chelsea Buns
500g Strong White Flour
1 tsp Salt
7g  Fast Active Dried Yeast
300ml Milk
40g Unsalted Butter
1 Egg
Vegetable Oil
For the Filling
25g Unsalted Butter
3oz Soft Brown Sugar
2 tsp Cinnamon
150g Chopped Chocolate
For the Glaze
2 tbsp Milk
2 tbsp Caster Sugar

Baguettes
750g Strong White Bread Flour
15g Salt
15g Fast Action Dried Yeast
6 tbsp Olive Oil
540ml Cool Water

I had a lot to do and only a Saturday in which to do it! I will write up each bread at a time, but for a challenge like this, I was kneading whist another bread was proving, I was baking whilst another bread was cooling, I was mixing whilst another bread was on it's second prove. This challenge was all about time management!

I started off with the Braided Wheel. I weighed out the flour in a big bowl and added the salt to one side and yeast to the other. I then added the Rosemary and Thyme and poured in the water a bit at a time and kept mixing


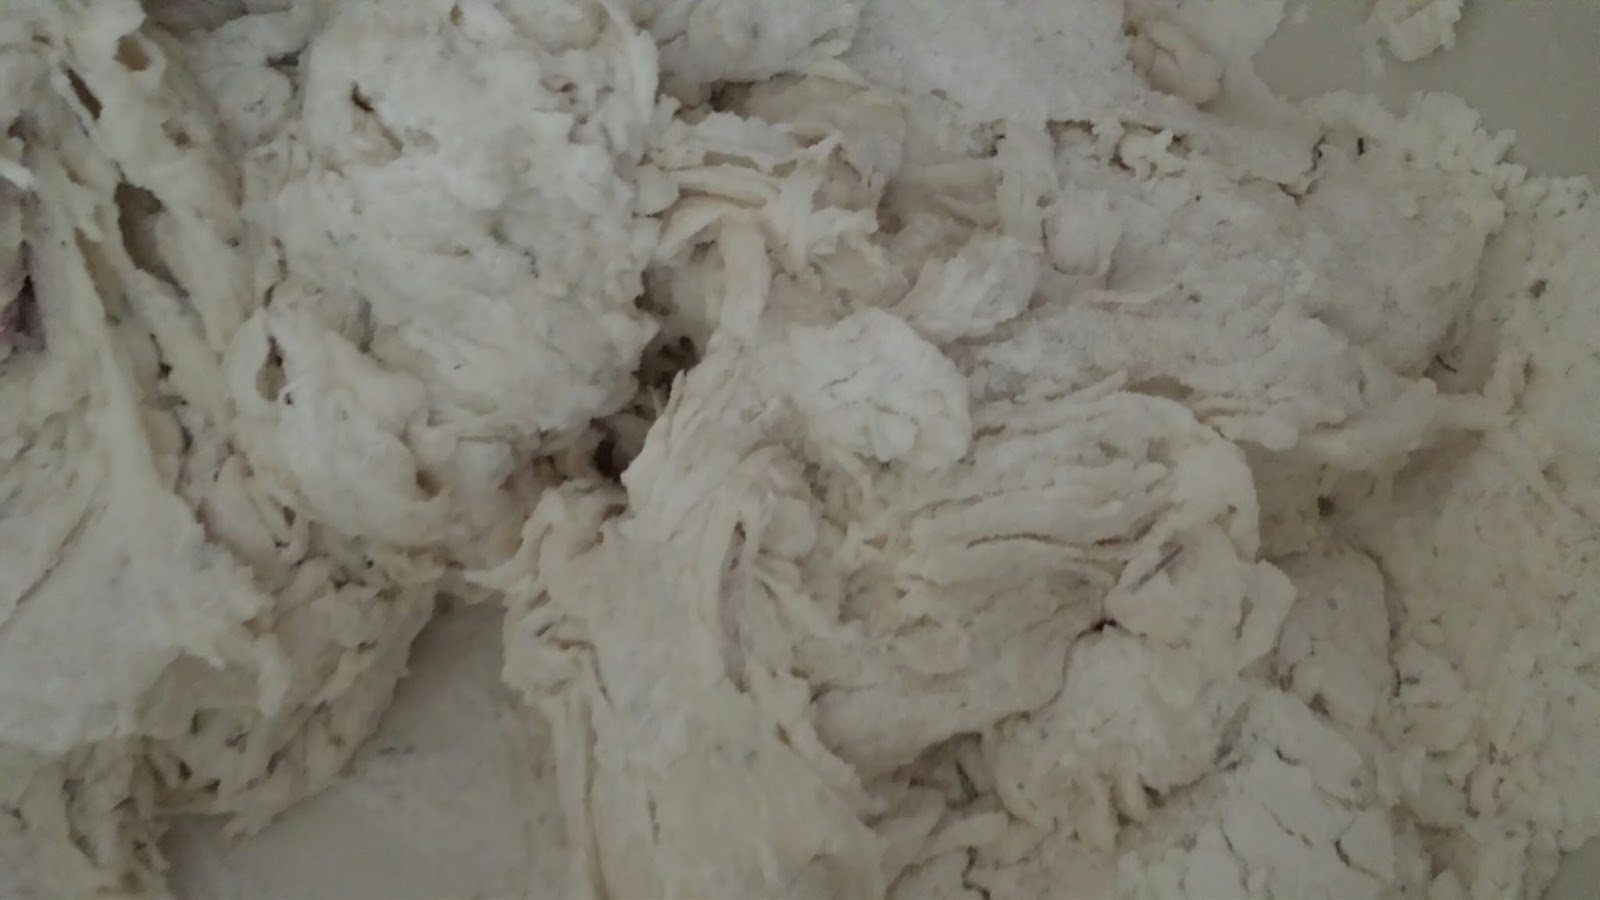
Once it was incorporated, I turned out the dough onto a floured surface and kneaded for 5 minutes


I then left it to prove for an hour in the bowl with cling film over the top


I knocked it back and separated a small amount of dough that I needed for the middle spokes, I then split the remaining dough into 4 and rolled them out into long strands ready to braid


I had to be careful not to tangle the ends during the braiding process, so I took it at a slow and steady pace, I really wanted to keep a nice neat pattern all the way around to mirror the metal framework of a Ferris Wheel


Finally I was finished braiding! I snipped off the ends placed the edges together to form the ring


I then added the spokes and the middle circle for structure and to illustrate the wheel. I then left it to prove for a further 45 minutes


I then baked it 180C for 30 minutes


Part 1 of 3 thankfully complete, on with the next

I decided to do the Baguettes next, reading through the recipe they would take the longest to prove, so I planned to be doing things in between the gaps

Due to this mixture being fairly wet, I used my food mixer with the dough hook for this one. I added the Flour, Salt, Yeast (keeping them far away from each other) and Olive Oil into the mixer, along with part of the water. I then kept adding the water gradually whilst mixing on a slow speed. I turned up the speed to medium and let it knead for 10 minutes until the dough was a little elastic. I then placed the dough into a plastic container and left to prove for 2 hours


Once the 2 hours were up, I knocked the dough back and began working on the shaping


The dough still seemed a little wet at this stage, but I had come to far now, so I carried on. I shaped two triangles and left them to prove for another hour. I then cut slits into each side and dusted with flour


I preheated the oven to just over 200C, along with a baking tray. I placed the two triangles into the oven, along with some water for the hot baking tray to create a steam to allow the bread to crisp nicely and provide the strength needed for the base of the wheel. They baked for 30 minutes, then the temperature was reduced to 180C for the last 10 minutes.


Relieved that another bread was down and I had just 1 more to go, I was starting to feel the tiredness creeping in at this point. I had a challenge to do and I would finish it, Part 2 of 3 done, so on with the next!

Finally I made My Take on Chelsea Buns. I have to point out here that I could have made Chelsea Buns in the usual way, but neither Gav or myself like dried fruit in bread (or cakes or scones for that matter, we just feel that they have no place there), so I substituted the dried fruit for Chocolate.

In a large bowl, I sifted the flour and salt and added the yeast to one side. I warmed the milk and the butter, until it had melted and slowly added it, along with the egg, to the dried ingredients. This formed a soft dough. I then kneaded the dough on a well floured work surface until the dough lost it's stickiness and became smooth.

I placed it back into the bowl and covered for an hour to prove. Once it had doubled in size, I knocked it back and rolled out into a long rectangle. Here I actually split the dough in two in order to create smaller buns. 

I melted the butter and brushed it over the dough, I then sprinkled the brown flour over the top and added the cinnamon. The chocolate was chopped up into small chunks and scattered over the top. I then rolled up the dough lengthways, keeping it nice and tight.


I cut off the ends and cut the long roll into small buns. I then covered them with a tea towel and left them to prove for another 30 minutes.


They were then baked at 190C for 20 minutes. Shortly before they were ready, I prepared the glaze by heating the milk and the caster sugar in a saucepan, brought it to the boil and simmered for 2 minutes. When the buns were ready, I immediately brushed them with the glaze and left them to cool.


Once everything was cooled, I then pinned together my Ferris Wheel using cocktail sticks


Some of you will be able to guess my inspiration behind the Ferris Wheel, for those of you who cannot, it was based on the London Eye, where Gav proposed at the very top, just last year. Ferris Wheels will always be very close to our hearts.

Although I was happy with the results, it did not quite stand up by itself, it just was not strong enough in the middle to hold it. The baguettes kind of turned out a little like Ciabatta instead, but they were still sturdy enough, the weakness was the centre of the wheel - which in hindsight perhaps should have been a solid circle with braiding on the top, but then perhaps it would have lost a little something in the way it looked doing it that way. The breads were tasty, the Chelsea Buns went down a storm in particular! I managed to bag myself 4 out of 5 for this monstrosity of a challenge. 

Wednesday 19 August 2015

Bake Off with the Bake Off 2015 - Week 2 - Biscuits!

After my performance with the Brandy Snaps last year, watching the show last week, I was dreading my challenge for Biscuits. I was concerned that I was going to be given the biscuits in a box made out of biscuits, thankfully Gav did not bestow that little challenge on me this week!

Week 2 - Biscuits!
The Challenge
Arlettes

It's fairly safe to say that before last week's show I had never heard of Arlettes but being a big fan of Cinnamon, I absolutely wanted to eat some! Luckily for me, so did Gav, hence this challenge!

Ingredients:
170g Strong White Bread Flour
170g Plain Flour
2tsp Salt
330g Butter
100ml Cold Water
50g Granulated Sugar
2tsp Ground Cinnamon
Icing Sugar

I started off by incorporating 120g of both the bread flour and the plain flour, along with 80g of butter (melted) and all of the water. 


Once nicely mixed in, it looked like this


 I then kneaded the dough for roughly 5 minutes, until it was lovely and smooth


With my hands, I shaped the dough into a square, covered it in cling film and started what will be a very long process of chilling and folding. This first chill, I placed it in the freezer for 25 minutes.


Whilst my dough was chilling sufficiently, I took the rest of the flours and creamed in the rest of the butter. This formed the butter layer.


I spread the butter and flour mix onto a sheet of cling film, covered the top with another sheet of cling film and rolled it out into a rectangle, twice as long as my dough square, then chilled in the fridge for 25 minutes.

After my dough was nice and cold, I removed it from the freezer and placed my now chilled butter rectangle underneath it and wrapped my dough square up in the butter layer. I then rolled it out into a rectangle.


I then folded both ends of the rectangle into the middle to form the first part of the book fold


I then folded that in the middle, to finish the book fold off. I wrapped it back up in the cling film and chilled for another 25 minutes.


Again, after chilling time, I removed it, rolled it a little, and made another book turn. I then wrapped it up and chilled it again for another 25 minutes. 


Towards the end of this chill time, I mixed the granulated sugar and the cinnamon together for the filling. Once the dough was chilled enough, I rolled it out and added the filling.


Then another book turn was made to ensure that the filling was incorporated. I then rolled out the dough to a rectangle, ensuring that it was 1cm thick.


From the short end, I rolled up the dough to form a swiss roll, wrapped it in cling film and chilled it for yet another 25 minutes. Finally after this last chill, I cut the swiss roll into 16 slices, trimming the ends to make sure that the slices were nice and straight and around 1cm thick.


Covering the work surface in icing sugar, I took each slice and rolled them out thinly


I then placed them into the oven at 200C for 4 minutes, turned them over and baked for another 5 minutes, removed from the oven and I was finally finished!


I was fairly happy with how they turned out, they were delicious, crispy all the way through and I had defined rings. My only 2 downfalls were that they were not overly neat and they were not all constant (looks wise) throughout the batch, I earned 3 out of 5 for this one. I'm still pleased. I would say that I will try them again, but more time needs to pass before I feel like subjecting myself to all those turns and chills again!

Also, a random side note, I made the self saucing chocolate puddings again at the weekend and I just wanted to share with you that I totally nailed it, they were perfect. That is all. 


Tuesday 11 August 2015

Bake Off with the Bake Off 2015 - Week 1 - Cake!

Not wanting to start me off lightly, Gav selected the hardest challenge. I suspect he is starting as he means to go on! Here's how I did:

Week 1 - Cake!
The Challenge
Black Forest Gateaux

I've never made a Gateaux before, but it seemed fairly straight forward. As it was a Show Stopper, I needed to jazz it up a bit and make it pretty, I had some ideas up my sleeve

Ingredients
225g Butter
225g Caster Sugar
160g Self Raising Flour
65g Cocoa Powder
1/2 tsp Baking Powder
4 Medium Eggs
340g Morello Cherry Jam
1/2 Jar of Black Cherries in Kirsch
600ml Double Cream
2 tbsp Cocoa Powder
Fresh Cherries
1 bar of White Chocolate
1 bar of Milk Chocolate
1 chunk of Dark Chocolate

I preheated the oven to 190°C and prepared 3 tins. 

Then I mixed together the Butter, Sugar, Flour, Cocoa Powder, Baking Powder and Eggs in my super awesome mixer. I just love it when you can just chuck everything in and mix, none of this "cream this", "gradually add that". Once it was looking nicely mixed together, I divided it between my prepared cake tins. 


As I had divided them before baking them, they really did not take long in the oven, after 15 minutes, they were done.


With the sponges made, they needed to cool, thankfully I had enough to do preparing the decoration and the filling. I started off with the chocolate decoration on the top of the cake. I melted some white chocolate


Once the chocolate had melted and cooled a little, I dipped the fresh cherries into the bowl and coated each one, then placed them on a piece of baking parchment. Before the chocolate could set, I grated the dark chocolate over the top of them.


Satisfied that they were sorted and just needed to set, I then had to speed along to the fillings. In a saucepan, I emptied the jar of cherry jam and the half a jar of black cherries in kirsch and simmered for 5 minutes, realised that it needed to reduce a bit more and kept it going for another 3 minutes, then left to cool.


Whilst the cherry filling was cooling, I whipped the cream in the mixer, all the while being extremely grateful for having the whisking element to the mixer. I've had to whisk cream by hand before and it really hurts after a while. Once stiff peaks were forming, I stopped the mixer and started assembly. I had sponge, cherry filling, cream, sponge, cherry filling, cream, sponge. Like so:


With the remainder of the cream, I added the 2 tablespoons of cocoa and mixed together. Be really careful not to over whip your cream, it will go weird. When the cocoa was mixed in, I covered the entire Gateaux.


After it was covered, it was time to play with more chocolate! I melted the bar of milk chocolate let it cool a little. I spread out a rectangle on a plate. I then ripped up some strips of baking parchment and placed them one by one in the chocolate and layered them onto the cake.


In between layers, I popped the Gateaux in the freezer for a few minutes to set the chocolate and peel off the parchment.


When I had finished, I had a nice rustic looking Gateaux


I added my previously prepared white chocolate coated cherries and scattered some more grated dark chocolate  over the top and I was done


Here's just a little look into the inside after it had been cut


It was delicious as it looks. I quite enjoyed the process of making this one, I can bake cakes easily, so it was not an overly complicated bake for me. but the extra chocolate parts were a challenge, especially the side layers.  I earned full points for this one, I will have to give a Gateaux a go again in the future, I definitely need a chocolate one in my life! 

Sunday 9 August 2015

Bake Off with The Bake Off!

Once again the awesome show is back! The Great British Bake Off!! I love it, Gav and I get very excited about this show. If you remember last year, I had a bake off with The Bake Off. I'm doing the same this year, it's back, I'm back and I'm going to be taking part in harder challenges and the standards are going to be better than ever!

First Challenge is taken from week one, Cake Week! So watch this space over the next few days, I have a challenge that I have never made before and I'm ridiculously excited about it. 

Ready, Steady, BAKE!

:)